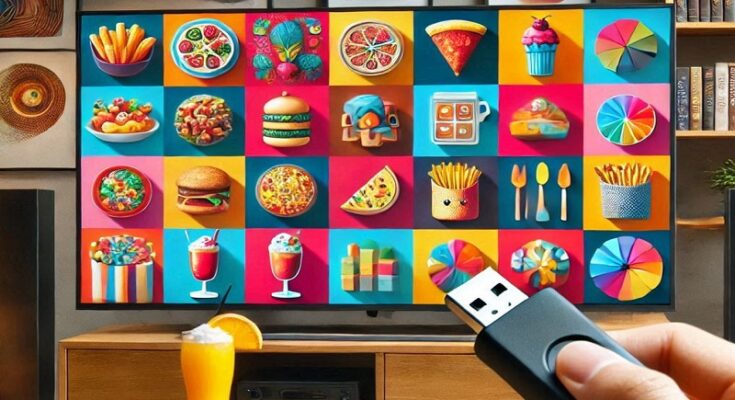
Displaying a menu on your TV using a USB drive is an efficient way to showcase presentations, restaurant menus, digital notices, or event schedules. This guide walks you through the steps to achieve a seamless display, ensuring a professional and polished result.
Why Use a USB to Display Menus?
Using a USB drive is a simple and cost-effective method for displaying menus or content on a TV. It eliminates the need for complex setups like HDMI connections or specialized software. Here’s why it’s a great choice:
| Advantages | Explanation |
|---|---|
| Portability | USB drives are small, lightweight, and easy to carry. |
| Ease of Use | Plug-and-play functionality simplifies the process. |
| Versatility | Supports various file formats like images, videos, and PDFs. |
| Cost-Effective | No additional equipment or subscriptions are required. |
| Wide Compatibility | Most modern TVs support USB playback. |
Preparing Your Menu for Display
Before connecting your USB to the TV, ensure your menu content is properly formatted and ready for display. Follow these steps:
1. Design the Menu
- Software Options: Use tools like Canva, Photoshop, or PowerPoint to create an eye-catching menu.
- Resolution Settings: Match the resolution to your TV’s display (e.g., 1920×1080 pixels for Full HD TVs).
- File Format: Save the menu in a TV-compatible format such as JPEG, PNG, or MP4.
2. Save to USB Drive
- Insert the USB drive into your computer.
- Create a dedicated folder for the menu files to organize content.
- Ensure the file name is simple and descriptive for easy access on the TV.
3. Test the Files
- Open the files on your computer to verify the quality and resolution.
- Ensure there are no compatibility issues by checking the file format.
Displaying the Menu on Your TV
Once your menu files are ready, follow these steps to display them on your TV:
1. Connect the USB to Your TV
- Locate the USB port on your TV (usually on the back or side panel).
- Insert the USB drive securely into the port.
2. Access the USB Content
- Use the TV remote to navigate to the input/source menu.
- Select the “USB” or “Media” option from the list.
- Browse through the USB content to locate your menu files.
3. Play the Menu File
- Highlight the desired file using the remote control.
- Press the “OK” or “Enter” button to open and display the menu.
- Adjust settings such as slideshow mode or playback duration if displaying multiple files.
4. Adjust TV Settings for Optimal Display
- Aspect Ratio: Set the TV to the correct aspect ratio (e.g., 16:9) to avoid distortion.
- Brightness and Contrast: Fine-tune these settings for better visibility.
- Loop Playback: Enable looping for continuous display of menus or videos.
Troubleshooting Common Issues
If you encounter issues during the process, refer to the table below for solutions:
| Problem | Possible Cause | Solution |
| USB not recognized | Incompatible format or corrupted drive | Format the USB to FAT32 or NTFS and try again. |
| Files not displaying | Unsupported file format | Convert files to TV-supported formats like JPEG, PNG, or MP4. |
| Poor image quality | Low-resolution files | Redesign the menu with higher resolution settings. |
| Menu not looping | Loop option not enabled | Access playback settings and enable the loop function. |
Best Practices for a Professional Display
- Use High-Quality Media: Ensure images and videos are in high resolution to avoid pixelation.
- Organize Files: Keep files organized in separate folders for quick access.
- Test on TV: Always test the USB content on the actual TV to check for compatibility and quality.
- Keep Backups: Save copies of the menu files in case the USB drive gets damaged.
Advanced Tips
For a more dynamic presentation, consider these advanced options:
- Add Background Music: Pair your menu with an MP3 file for an engaging display.
- Use a Slideshow Tool: If your TV supports it, create a slideshow with transitions.
- Remote Control Software: Some TVs allow USB content management via mobile apps.
Conclusion
Displaying a menu on your TV using a USB drive is a straightforward and efficient solution. With proper preparation and a few adjustments, you can create a professional and visually appealing menu presentation. By following the steps outlined in this guide, you’ll be able to showcase your content seamlessly, whether for personal or professional use.
Take advantage of this versatile method to make an impactful display, and don’t forget to test and refine for the best results.


