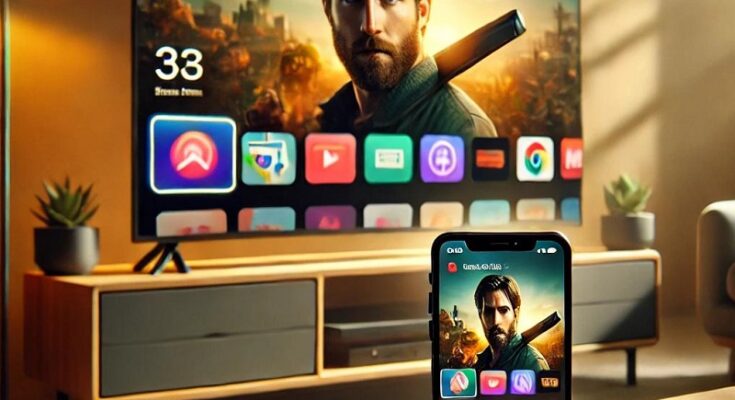
Mirroring your phone screen on a TV can transform your viewing experience, whether you’re streaming videos, gaming, or sharing photos with friends. This guide covers various methods to connect your phone to a TV, offering step-by-step instructions for seamless setup.
Benefits of Displaying Your Phone Screen on a TV
| Benefit | Description |
|---|---|
| Enhanced Viewing | Watch videos and photos on a larger screen for better clarity and detail. |
| Improved Collaboration | Share presentations or ideas during meetings without the need for additional devices. |
| Gaming Experience | Play mobile games on a big screen for an immersive experience. |
Methods to Display Your Phone Screen on a TV
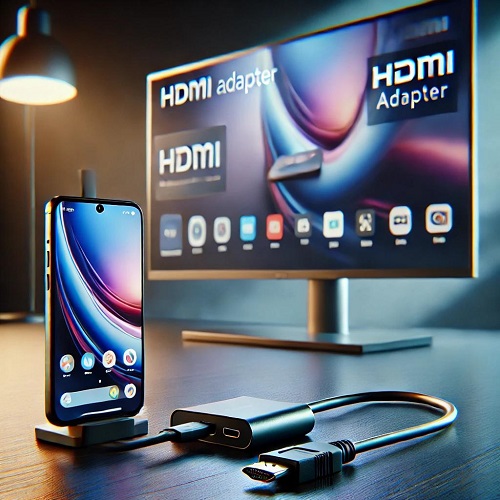
1. Using an HDMI Adapter
An HDMI adapter is one of the simplest ways to connect your phone to a TV.
Steps to Set Up:
- Purchase an HDMI adapter compatible with your phone (USB-C to HDMI or Lightning to HDMI).
- Plug the adapter into your phone’s charging port.
- Connect an HDMI cable to the adapter and plug the other end into the TV’s HDMI port.
- Switch your TV to the corresponding HDMI input.
Advantages:
- Reliable and easy to use.
- Provides high-quality video and audio output.
2. Using a Casting Device (e.g., Chromecast)
Casting devices like Chromecast let you wirelessly display your phone screen on a TV.
Steps to Set Up:
- Plug the casting device into your TV’s HDMI port and power it.
- Connect your phone and the casting device to the same Wi-Fi network.
- Open a compatible app (e.g., YouTube) and tap the Cast icon.
- Select your casting device from the list.
Advantages:
- No cables required.
- Allows multi-tasking on your phone while casting.
3. Using Smart View or Screen Mirroring
Most modern TVs and smartphones come with built-in screen mirroring features.
Steps to Set Up:
- Ensure both your TV and phone are connected to the same Wi-Fi network.
- On your phone, go to Settings > Connections > Screen Mirroring (name may vary by brand).
- Select your TV from the available devices.
- Accept the connection request on your TV.
Advantages:
- Quick and easy setup.
- No additional hardware required if both devices support the feature.
4. Using DLNA Apps
DLNA apps like Plex or BubbleUPnP allow you to share content from your phone to your TV.
Steps to Set Up:
- Install a DLNA-compatible app on your phone.
- Ensure both your phone and TV are on the same Wi-Fi network.
- Open the app and select the media you want to display.
- Choose your TV as the output device.
Advantages:
- Perfect for sharing media files.
- Works with older smart TVs that support DLNA.
Troubleshooting Common Issues
| Issue | Possible Cause | Solution |
| No connection to TV | Incorrect input source | Ensure the TV is set to the correct HDMI or input source. |
| Screen lag during mirroring | Weak Wi-Fi signal | Move closer to the router or use an Ethernet connection. |
| Incompatible devices | Outdated hardware | Update your TV’s firmware or use an adapter/casting device. |
Tips for Optimal Performance
- Use Quality Accessories: Invest in reliable adapters or cables for stable connections.
- Keep Devices Updated: Ensure your phone and TV firmware are up to date.
- Optimize Wi-Fi: Use a strong, stable network for smooth screen mirroring.
- Adjust Display Settings: Tweak resolution and aspect ratio for better visuals.
Conclusion
Displaying your phone screen on a TV has never been easier, thanks to various wired and wireless options. Whether you use an HDMI adapter, casting device, or built-in screen mirroring features, the right setup can enhance your viewing experience significantly. Follow the methods outlined in this guide, troubleshoot common issues, and enjoy seamless connectivity between your phone and TV.
Let us know which method worked best for you and share your setup tips in the comments below!


